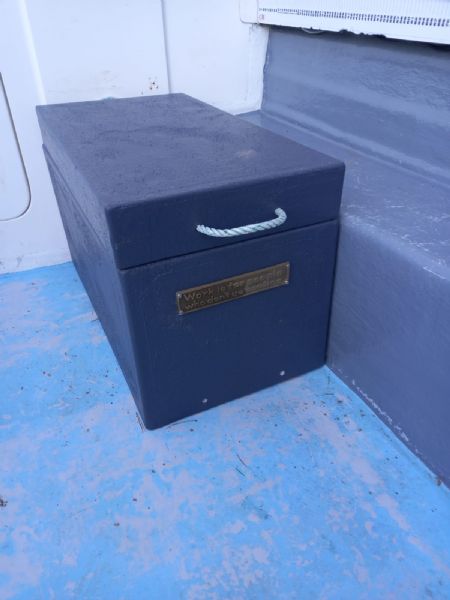
Making an anchor box
Terry’s Travels
Making an anchor box
I have owned my Red Bay Fast Fisher for well over twenty five years now, and have loved and continue to love just about everything about it.
Fair enough, built in the 1980's, she hasn't the speed and sexy lines of a modern craft, but what she lacks in that department, she more than makes up for in sea-handling, sturdiness and reliability.
As Tom from "Red Bay Boats" once said to me (the vessels creator), "don't ever be afraid of that boat in a big sea, she will always get you home". And she has!
The one criticism I have is lack of storage, and in particular, storage of anchor rope, chain and anchor. This is a problem with many small angling boats. Until now, storage has been a "cut-down" blue barrel. It serves the purpose, but always seems to be in the way, can tip over at times during a particularly rough ride back to harbour, and generally just becomes a nuisance. This summer, and inspired by the excellent job Chris McAlinden from MCA boats did on my Kingfisher Lough Boat, I thought I might try to improve the situation and build an anchor box. While I was at it, an extra couple of cleats needed fitted, and safety chords to attach to the reels in case a rod tipped overboard.
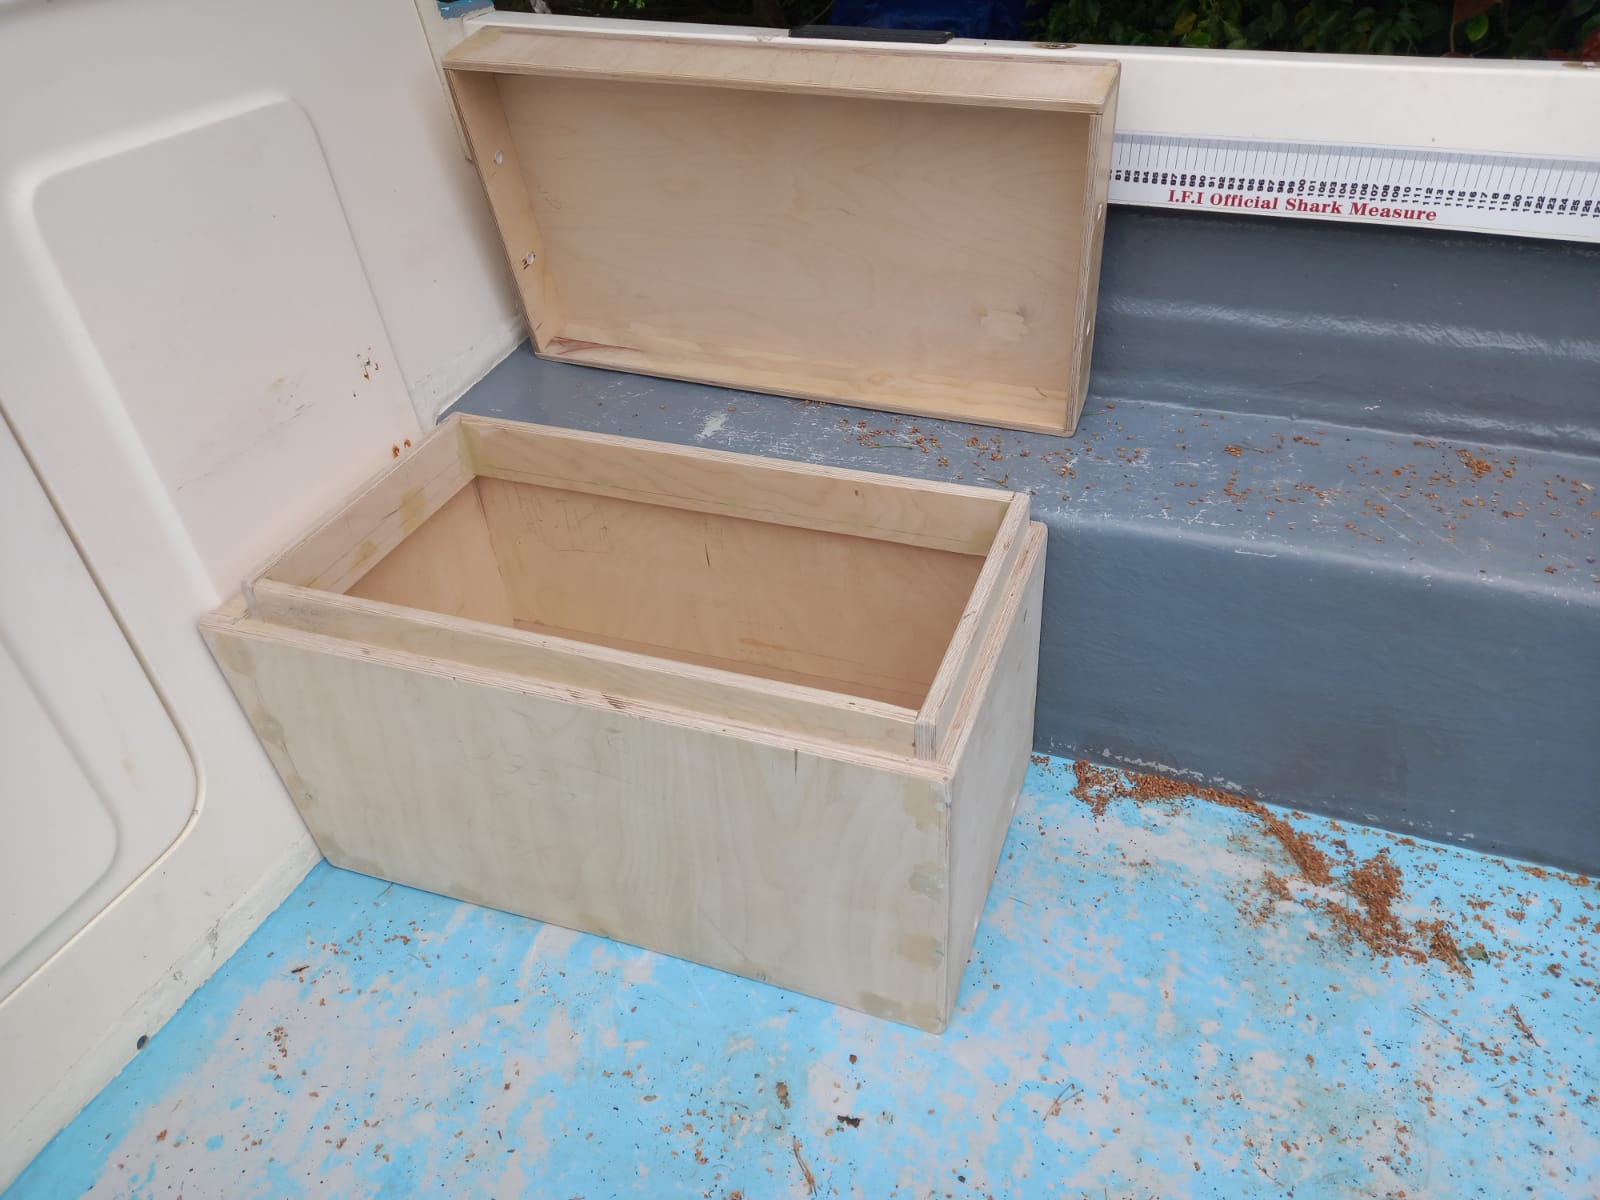
Ok, I'm a joiner by trade, which is handy, so "knocking up " a wooden box is a simple enough task, but water-proofing it is a different prospect altogether. A chat with Chris, and he gave me a crash course in fibre glassing over timber, and I was now confident enough to give it a crack.
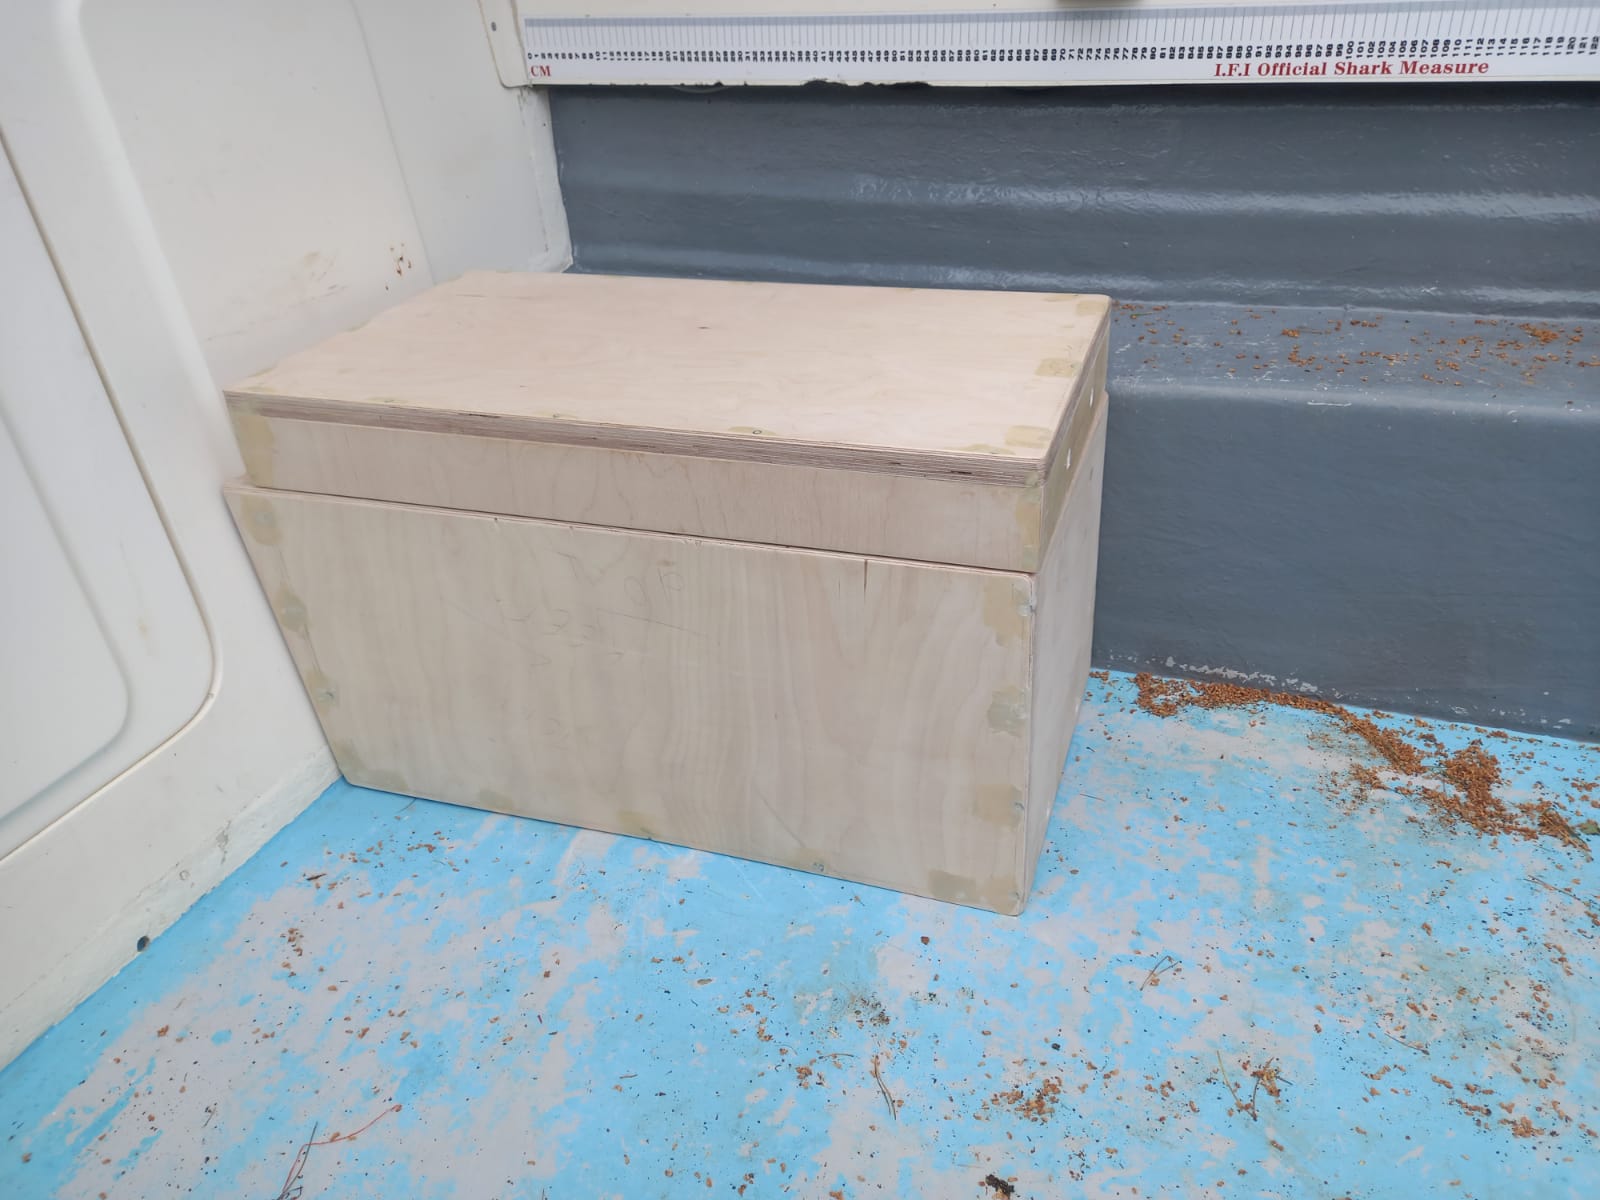
"Scribed" and shaped to the boats contours
With a few bits of plywood lying in the shed, I soon had the dimensions worked out, pieces cut to size and glued and screwed together. By "scribing" the bottom and sides to the shape of the boat, eventually I achieved a tight and neat looking fit. I built it such that the bottom of the box will be an inch off the deck to minimise potentially sitting in water. Time now to order the fibre glass matting and two pack epoxy. I planned to give inside and out three coats, so measurements and quantities allowed for this. The final coat would be finished by adding a colour mix of my choosing.
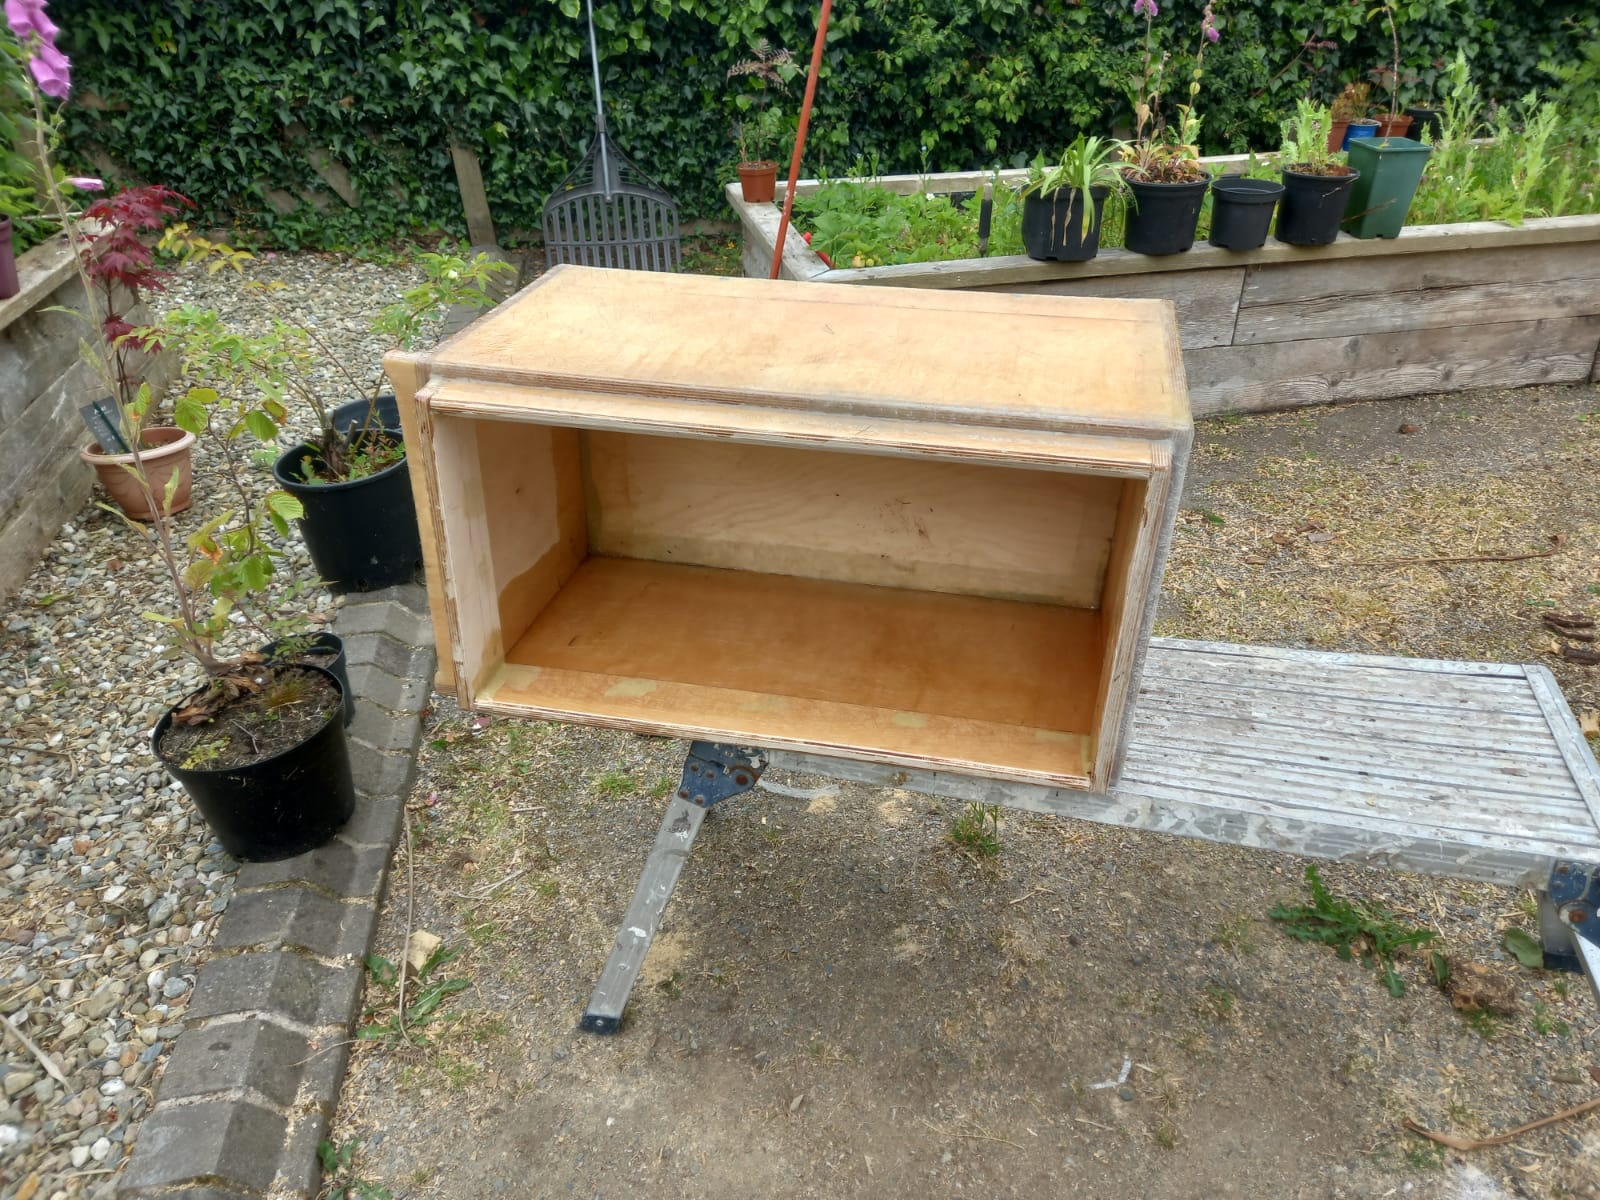
Let the water-proofing begin
With box constructed, and fitting well in position, the water-proof process could begin. Starting with the inside, a coat of epoxy followed by "cut to size" lengths of matting dabbed and rolled into position. A two inch brush is great for corners and tight areas, a sponge "radiator" roller handy to embed the flat areas, basically, drawing the epoxy through the matting, and soaking thoroughly.
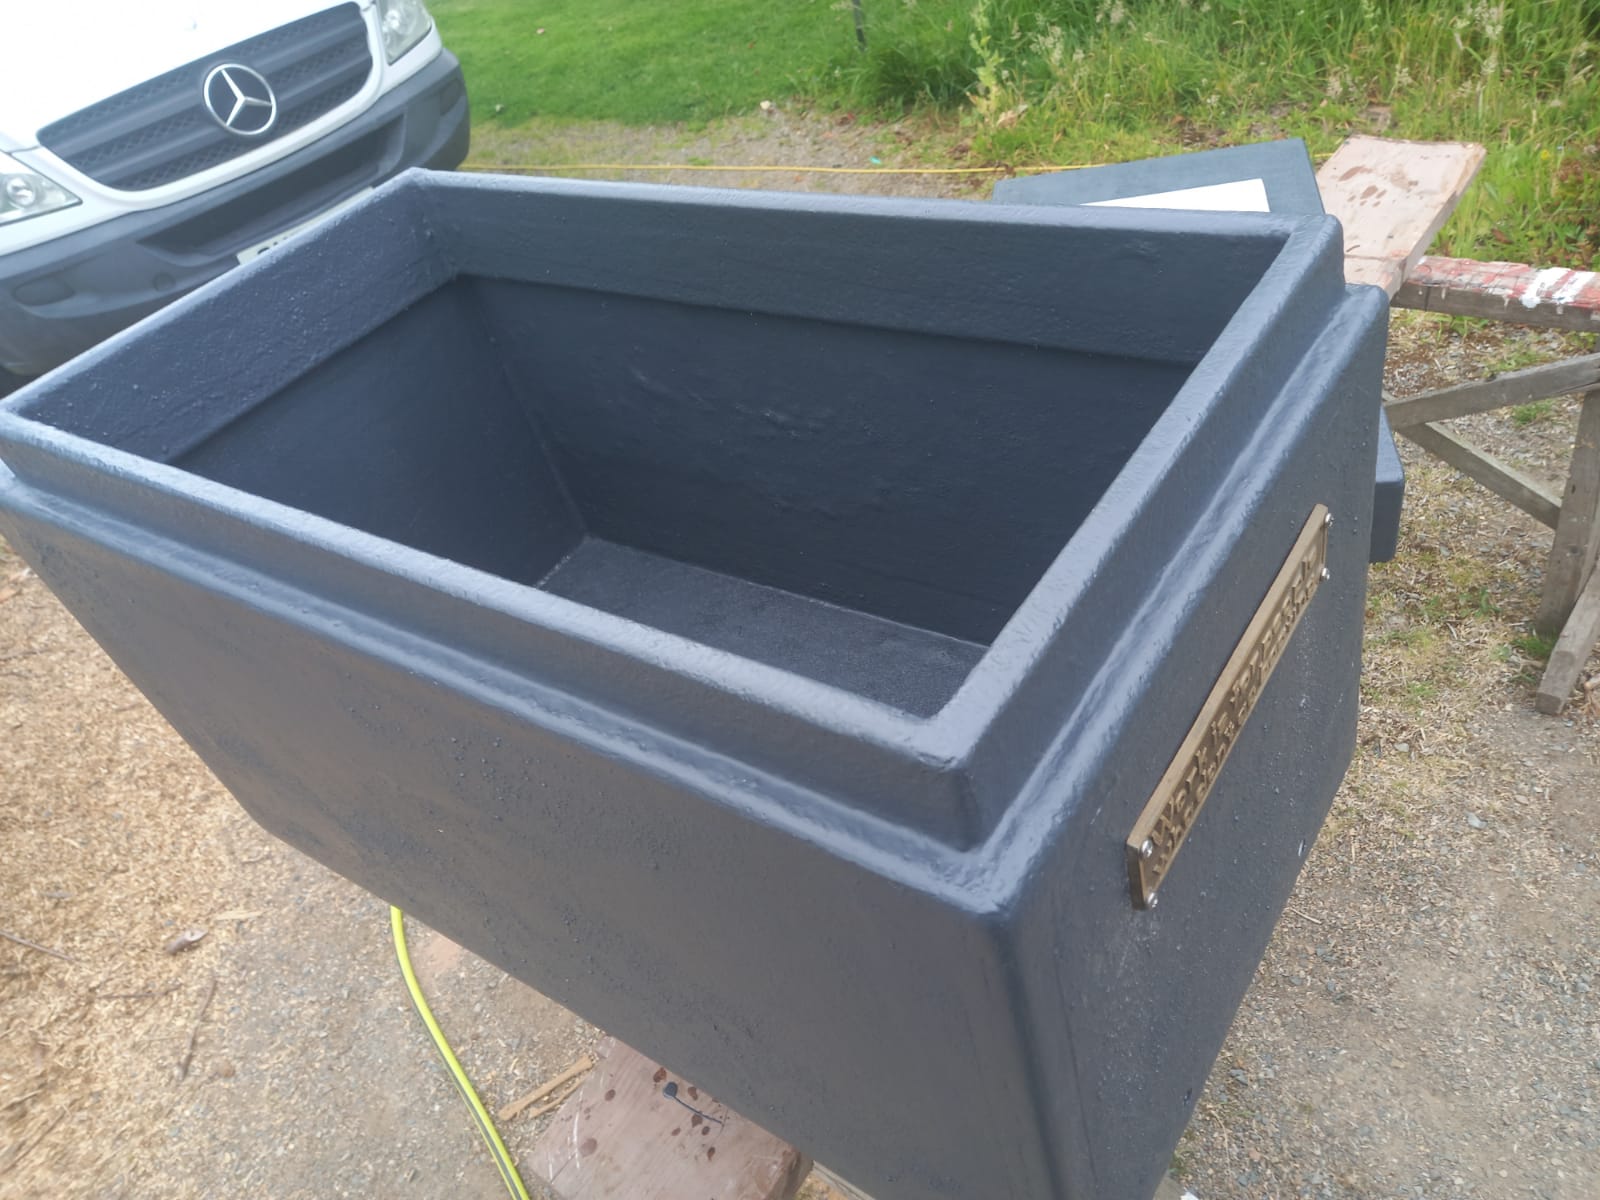
Repeat this, inside and out, allowing drying times between each coat, and a quick rub with sandpaper to flatten any raised hairs etc. Yes, it all takes a bit of time, but it's satisfying to have a go yourself to build something personal and bespoke for the boat.
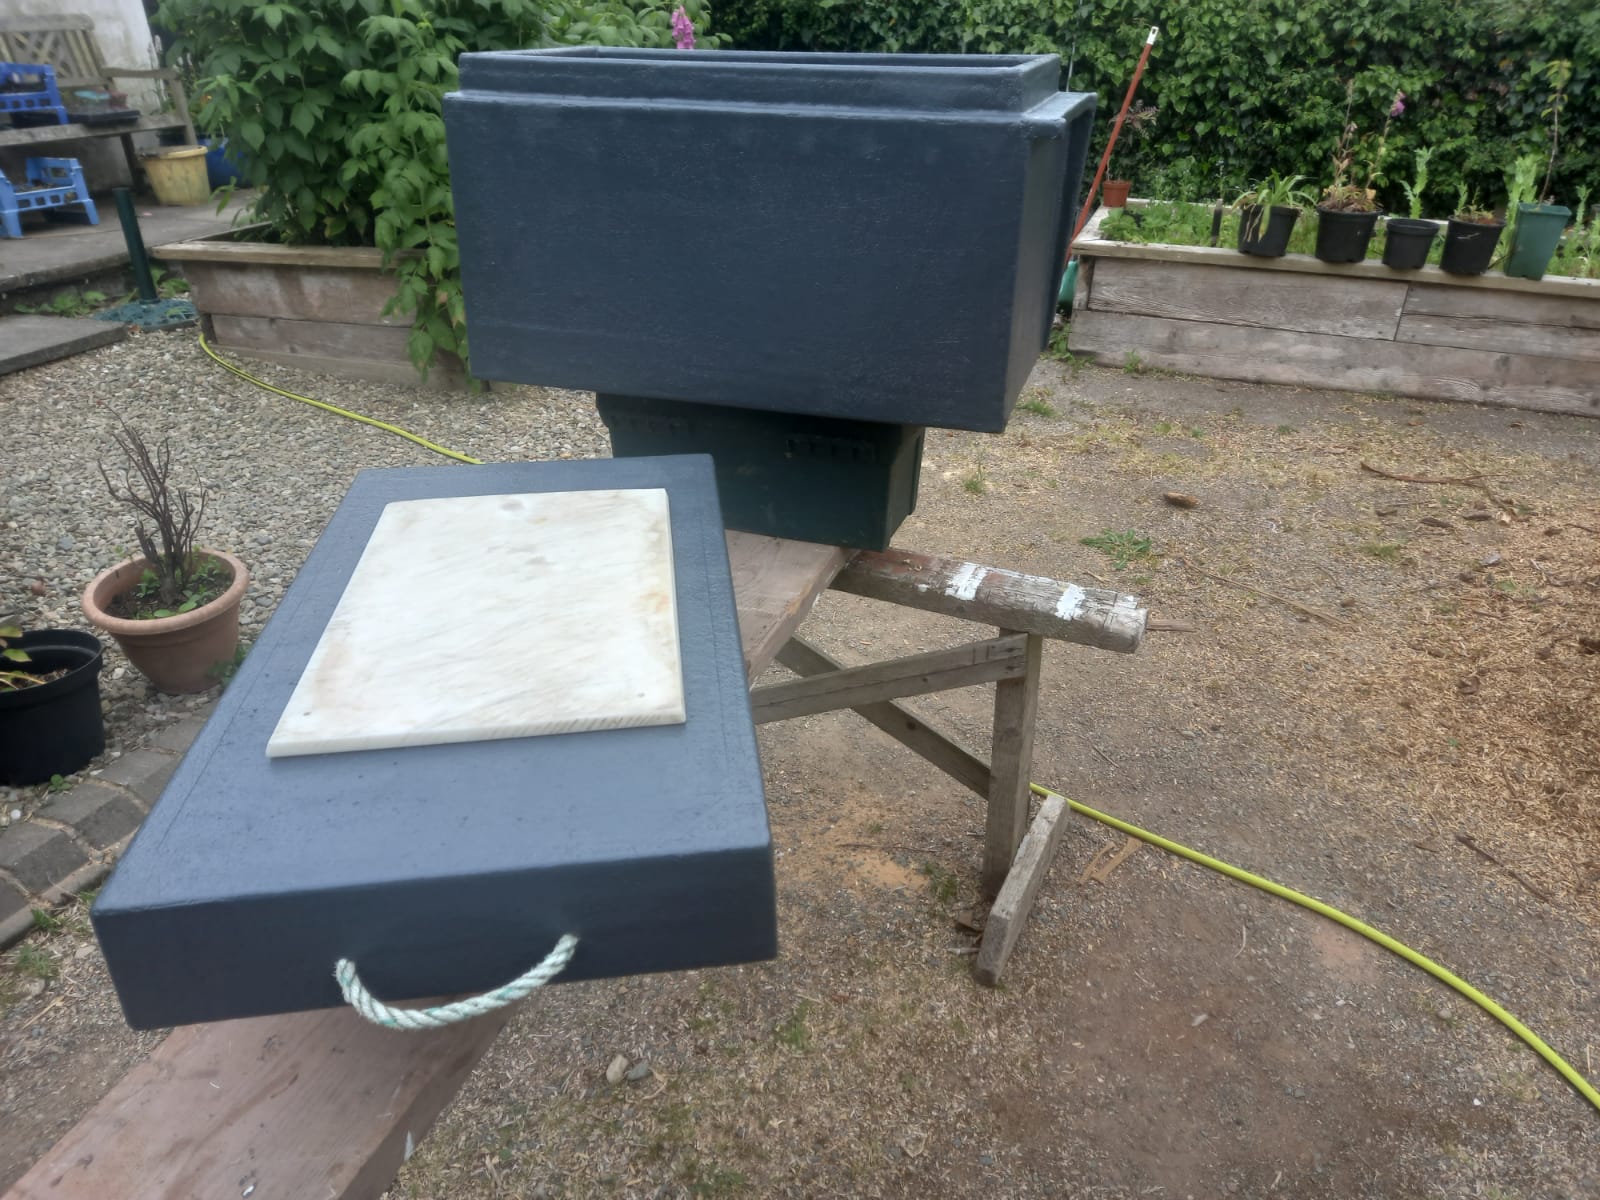
Now ready for the third and final coat, I chose a basic battleship grey colour to finish. Once fully dry, and well water-proofed I can tell you, the anchor box was ready to fit. Not wishing to drill any un-necessary holes in my boat, I bedded the box down with a strong, quality silicone mastic, sealed along anywhere that the box touched the boat structure. This method has held the box firmly in position, but also means I can remove it at a later date if needs be. I am contemplating using a router to cut out and in-bed a cutting board, but not sure just yet, I quite like using the anchor box as a deck seat!
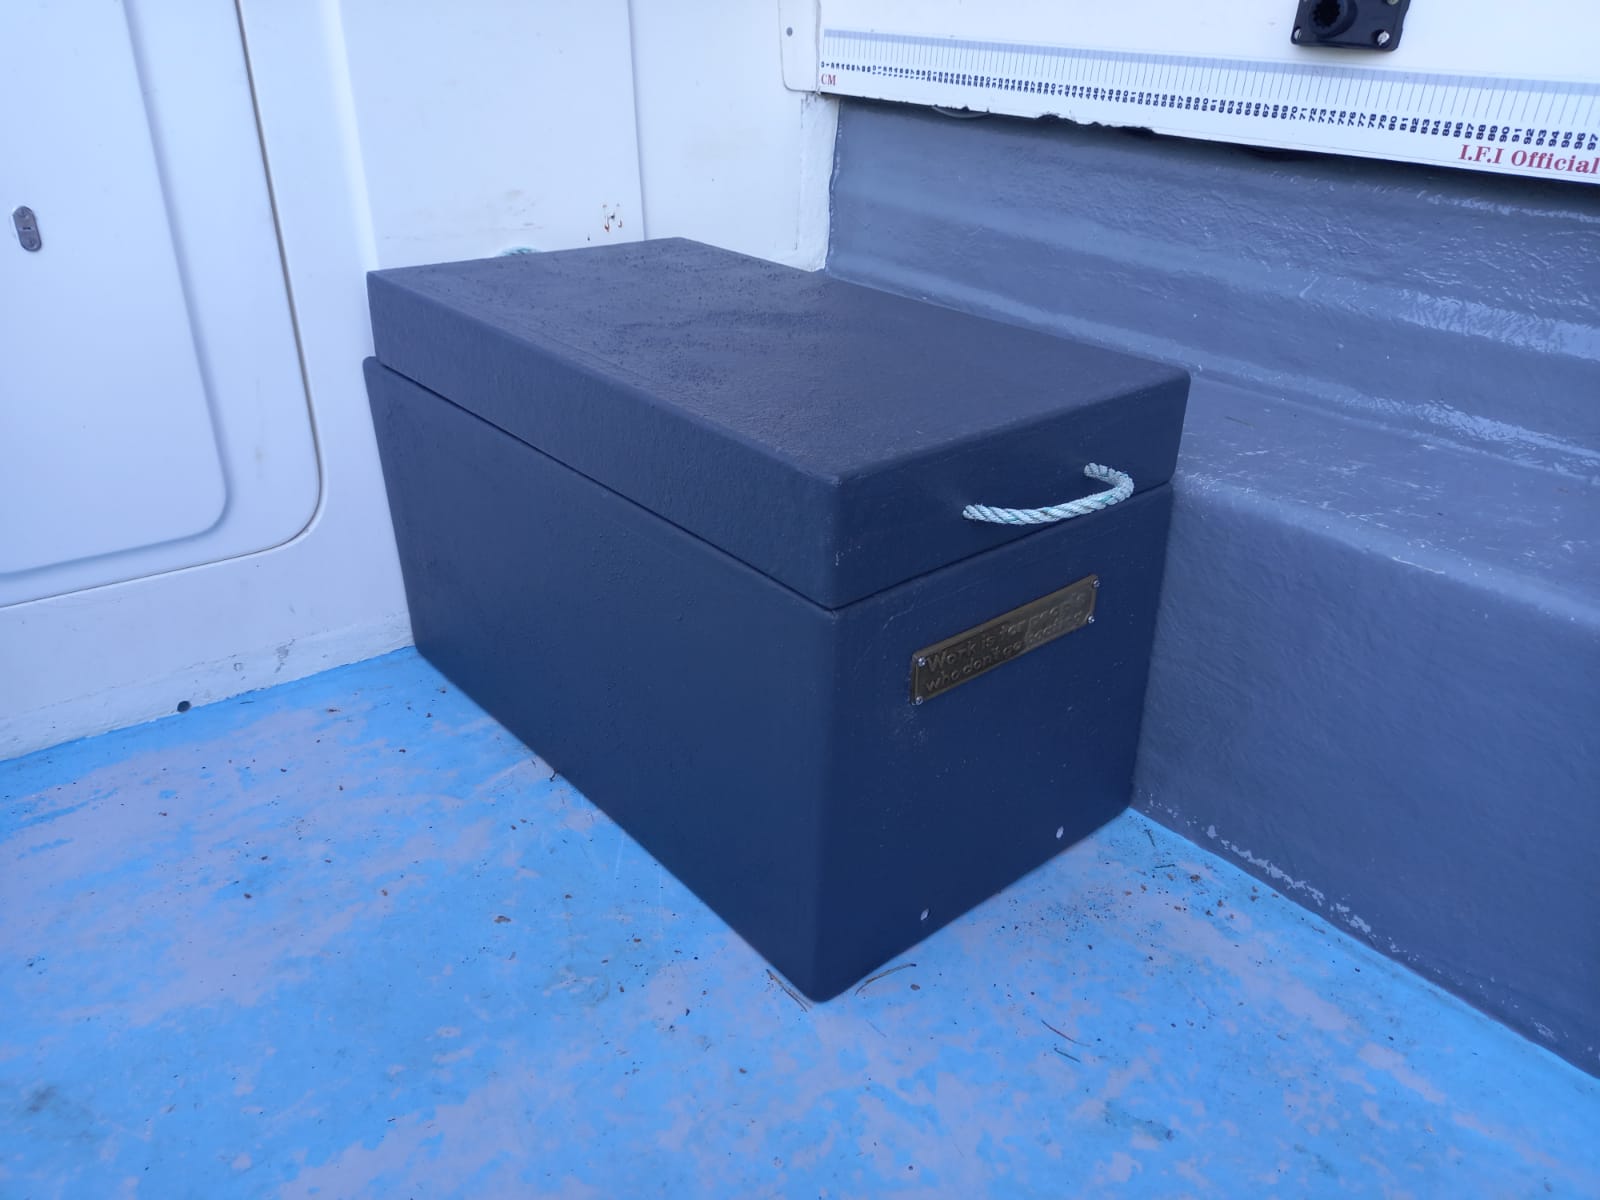
Firmly attached with a high quality silicone
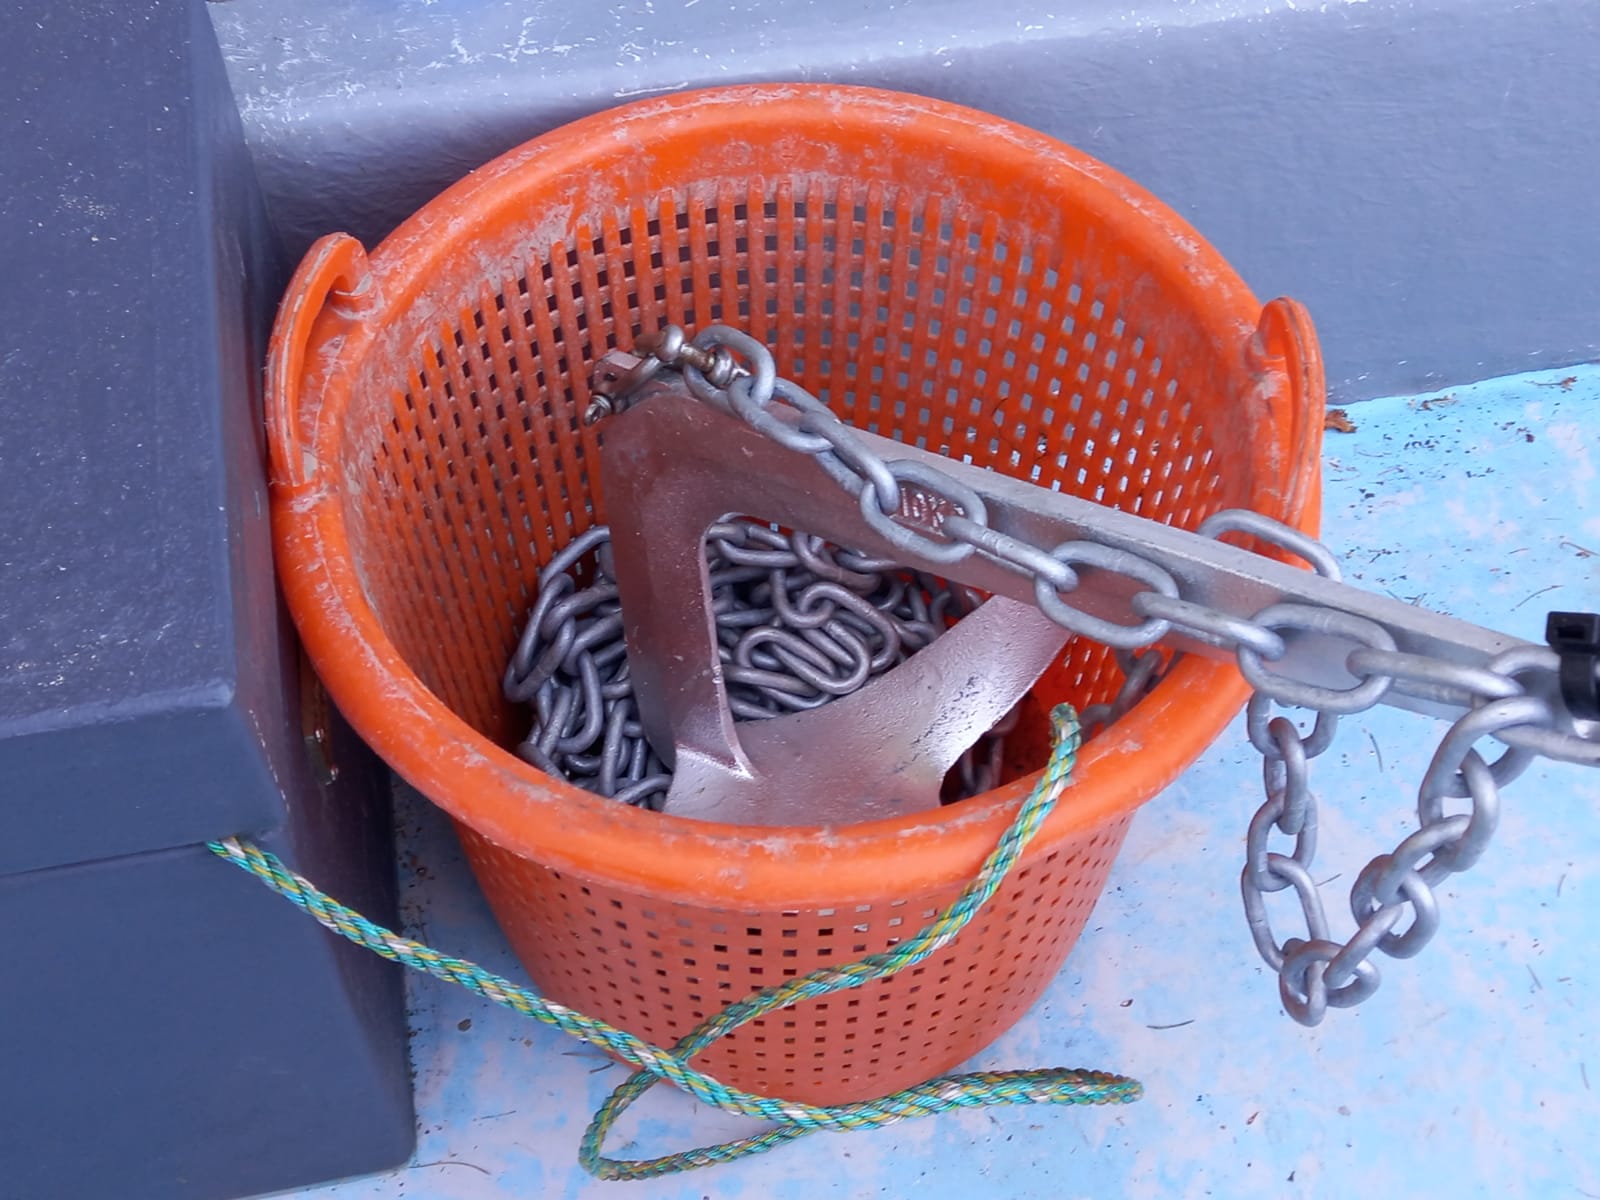
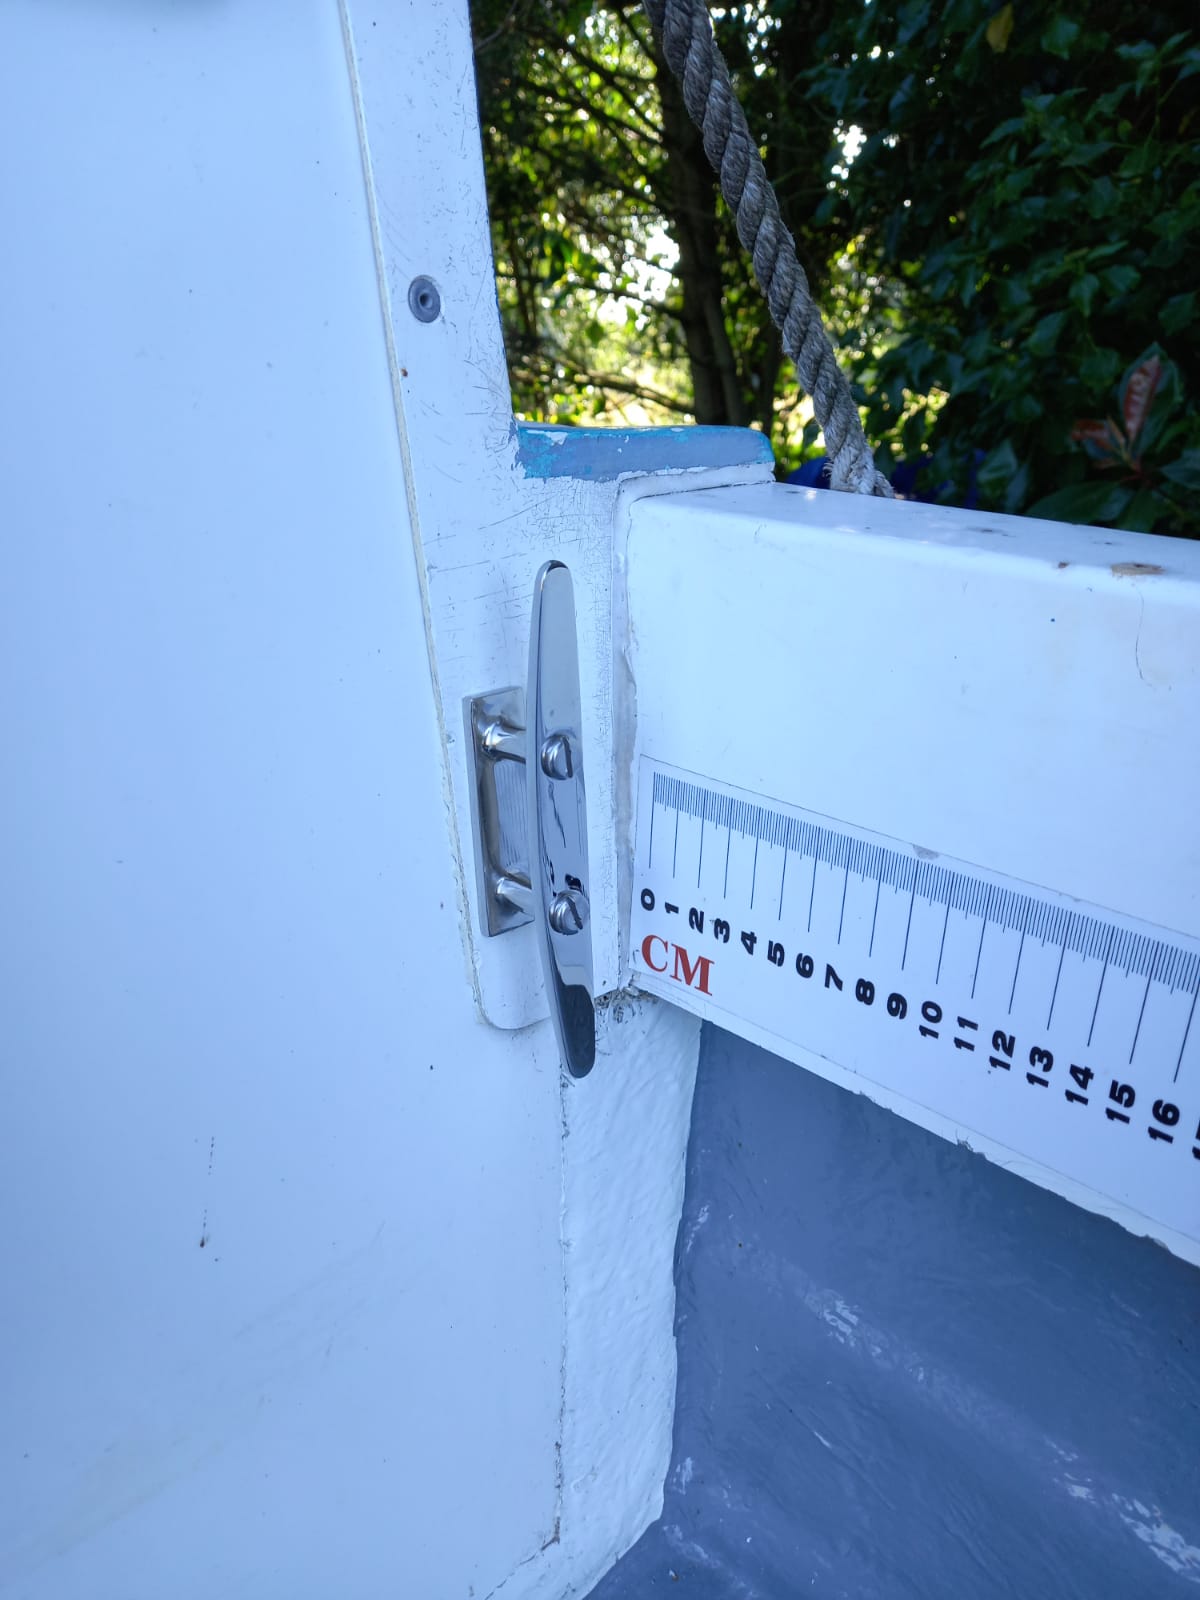
The only "cock-up" I made was not allowing enough room for the anchor in my measurements. I am now looking into building a larger "lid" that will accommodate this, but that's a job for the up-coming summer months. The extra cleats were fitted easy enough, handy for tying off ropes, buoys', anchor line etc, but also for holding large sharks close to the boat, with engine in gear, to calm the beasts down.
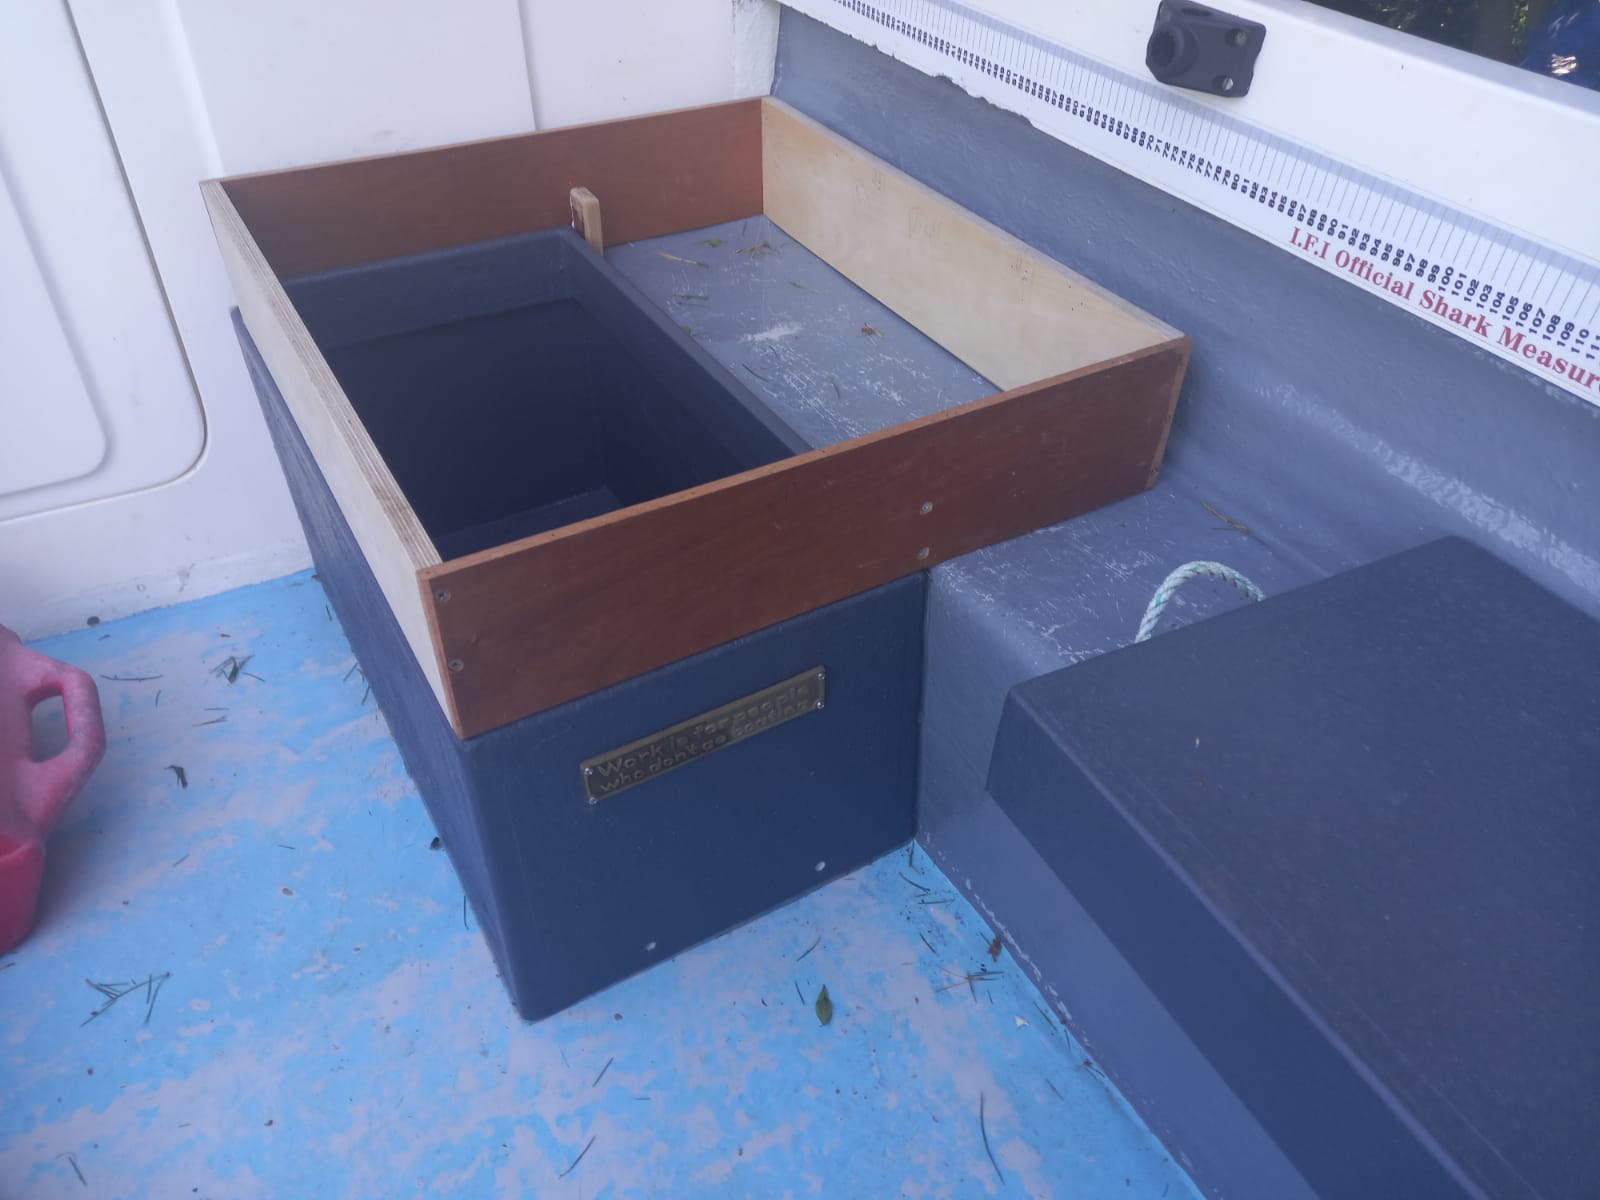
Starting on a larger capacity lid now, to make room for the anchor
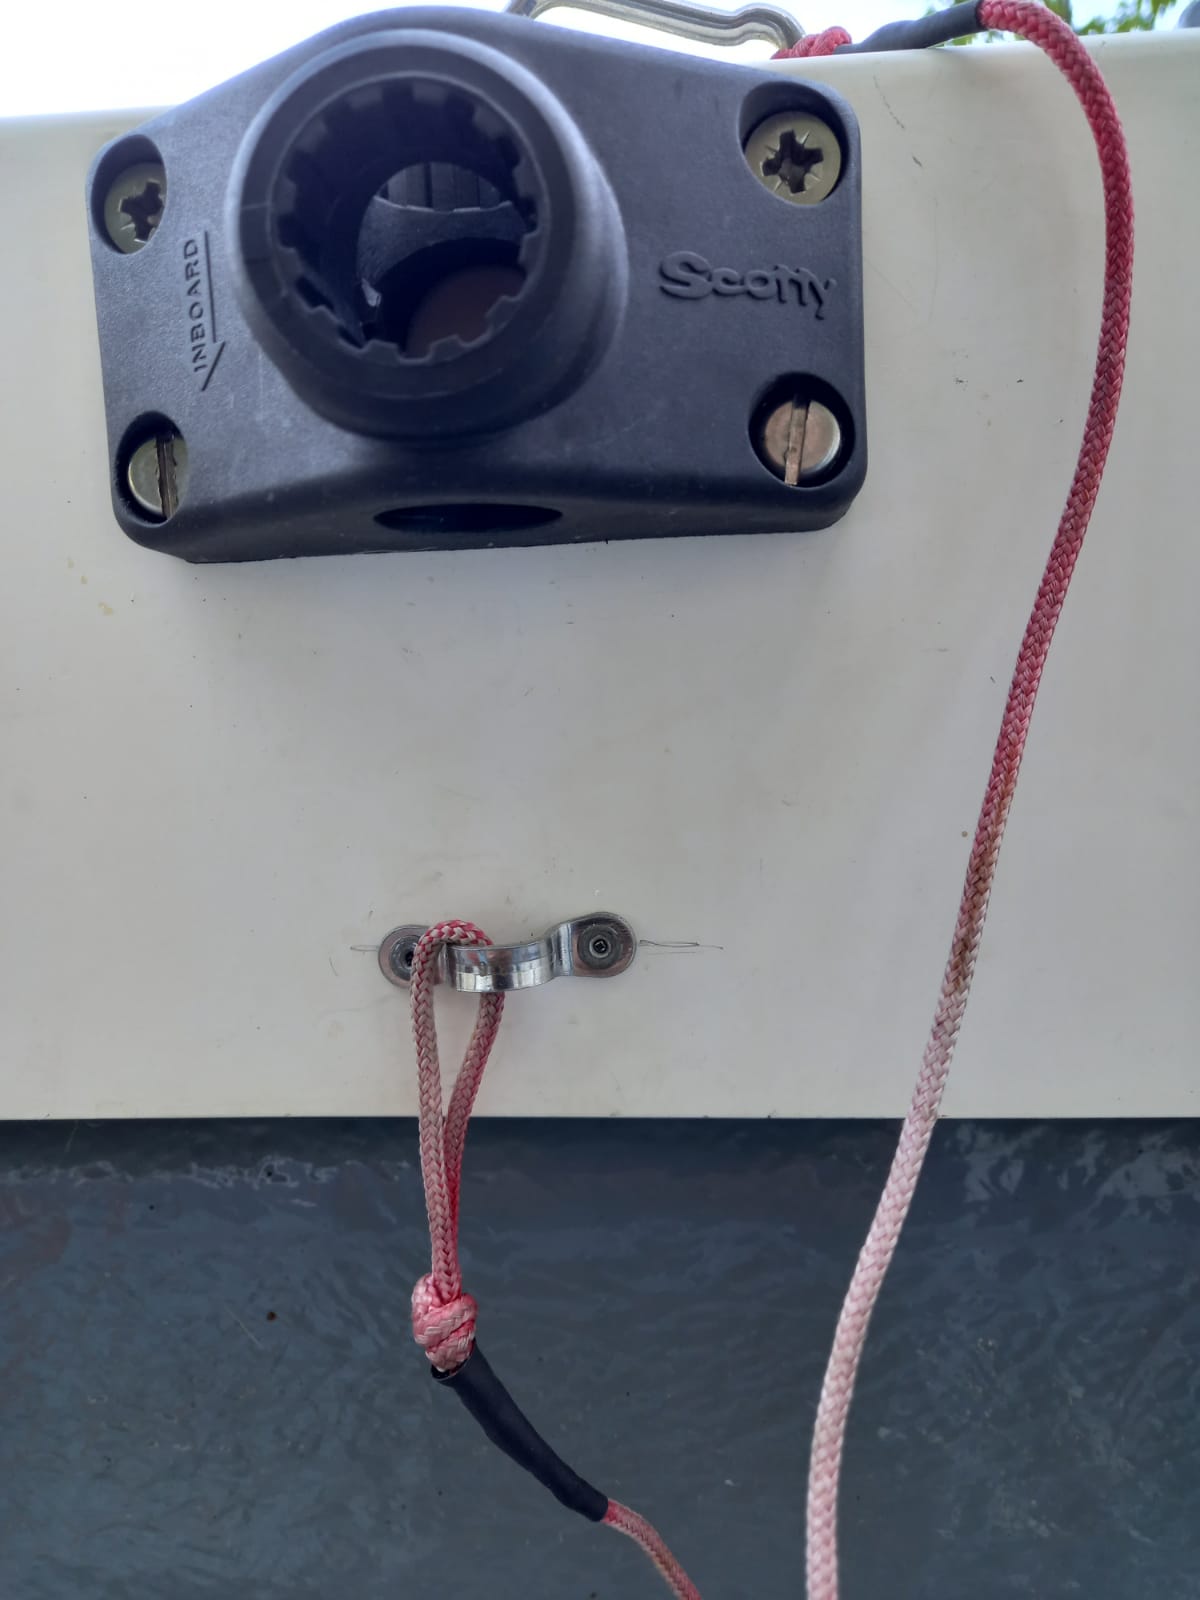
The rod lanyards are self explanatory, basically a safety chord should a rod holder fail. Boat maintenance is a never-ending process, sometimes a total pain in the back-side I agree, but at times fun and satisfying. Hope this gives the reader a couple of handy ideas for their own vessels, Tight Lines, Tel.


