Water Safety on The River Bank by Mark Corps
Safety on the river bank
If you have a look at the statistics, angling is not a particularly dangerous activity.
However as any activity carried out on or at the side of water it has the potential for serious and fatal accidents.
When introducing novices to any outdoor activity it has always been important to educate them about the potential dangers and importantly explain how to minimise or avoid these dangers (the concept of Duty of Care). Angling is no different!
Late last autumn representatives of Inland Fisheries Ireland (IFI), the Angling Council of Ireland (ACI) and the Game Angling Instructors Association (GAIA) had a meeting with the ‘Angling for Youth Development’ (AFYD). AFYD are a Scottish based angling youth organisation (you will hear more of them at another time). As part of the meeting they offered some training and a demonstration of their Water safety training they carry out for their coaches and students.
The main theme of the water safety was how to introduce students safely to fishing in moving water. Preparation and appropriate safety equipment, then teaching the skill of wading. Importantly, you need to think about what to do if it goes wrong, implementing defensive swimming, and finally how to save someone in the water by the use of a throw rope.
Knowing what to do and when in a rescue situation can help one stay calm and focused. Learning the correct techniques, working out what works best for you and practicing, means that if things go wrong on the river you’ll be prepared. In most cases you’ll be pulling a student / friend / client out of the river after only an embarrassing swim, nothing more serious.
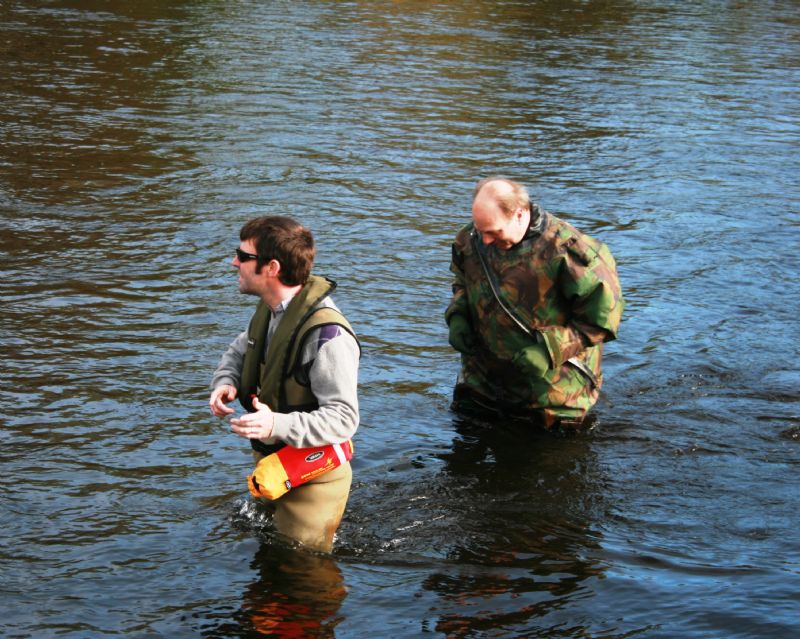
Wading in flowing water, facing into the current
Wading – this is not a skill that I had previously thought much about. Certainly no one ever taught me to wade. The only training I had was when taught ‘river crossings’ whilst doing my Mountain Leader training qualification.
Wading should be carried out as a practical task.
The first requirement is the need for coaches to clearly know the area they are working in and will be allowing their students to wade (carry out a Risk Assessment). This should ensure it is a safe and solid area of bed to wade with no nasty surprises.
Students when wading would require wearing a personnel buoyancy device and have limits set as to the depth that they should wade. The depth changes with need regarding size of the angler, his need to wade, river flow and the student’s ability.
Technique-wise, students need to be shown and explained the need to move slowly and carefully, moving one foot at a time (shuffling). Importantly feeling ones way forward, feeling for obstacles with ones feet.
Something I had never considered was the need to ensure when maneuvering in flowing water, novices should be advised to turn into the current (see picture 1). If turning down current and hit by the flow or an object in the back of our knees it is easy to be knocked off ones feet. Turning into the current the flow would hit ones knees or thighs; this is a far more powerful posture, particularly for children.
Defensive swimming - this would be a difficult activity to carry out safely for real so should be carried out on grass.
If unfortunate enough to end up in the water the main points are firstly - do not panic. As far as one can, one should relax and float on your back. As students should be wearing lifejackets they almost force a swimmer to do this.
Any equipment, even your favourite rod should be ditched!
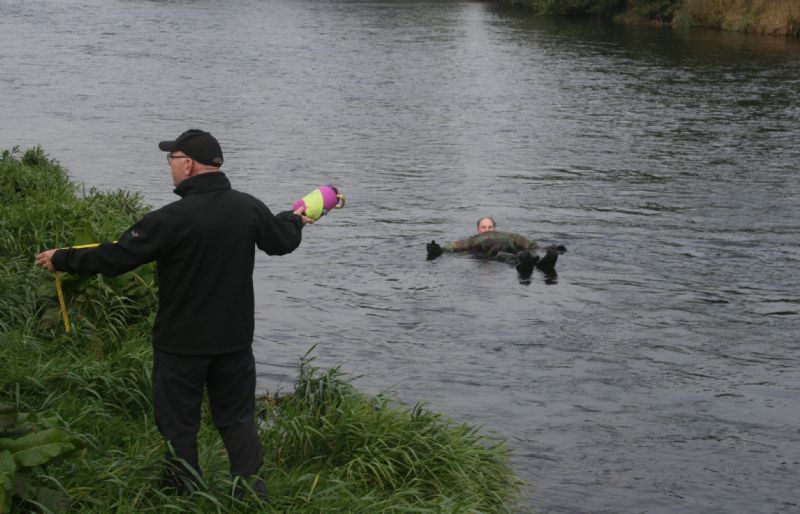
Picture two, heading downstream, feet first
The swimmer should float feet first down river so they can use their feet to fend off rocks or any other objects and not their heads. (picture 2). Swim down current (feet first on your back) toward a bank. If someone throws a throw bag put your arms out wide to make a larger target.
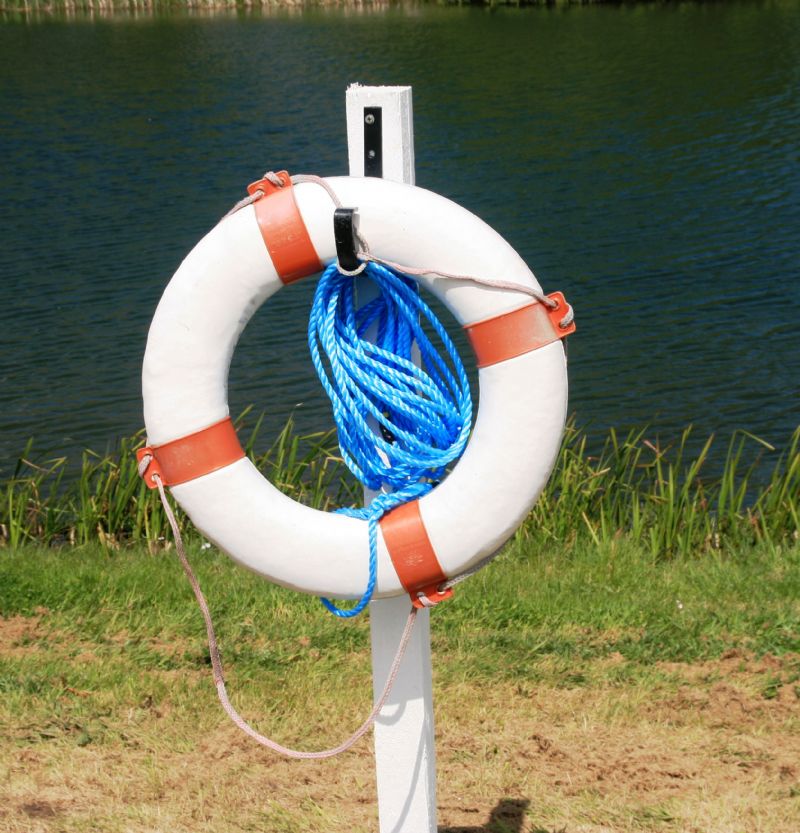
Once one is dealing with a ‘swimmer’ the question is how to get them out of the water, quickly and safely. I have no idea if you have ever tried to throw a lifebuoy? They are both heavy and unwieldy (picture 3) I would not be keen to have one thrown at me.
Kayakers are used to rescuing swimmers and they carry portable safety equipment to do this in the form of throw ropes. In fact throw bags are recommended to be carried by all White water kayakers and Angling guides.
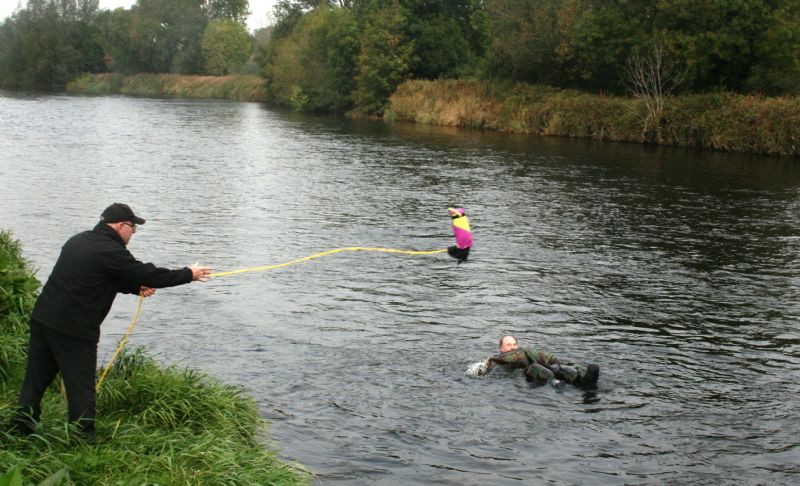
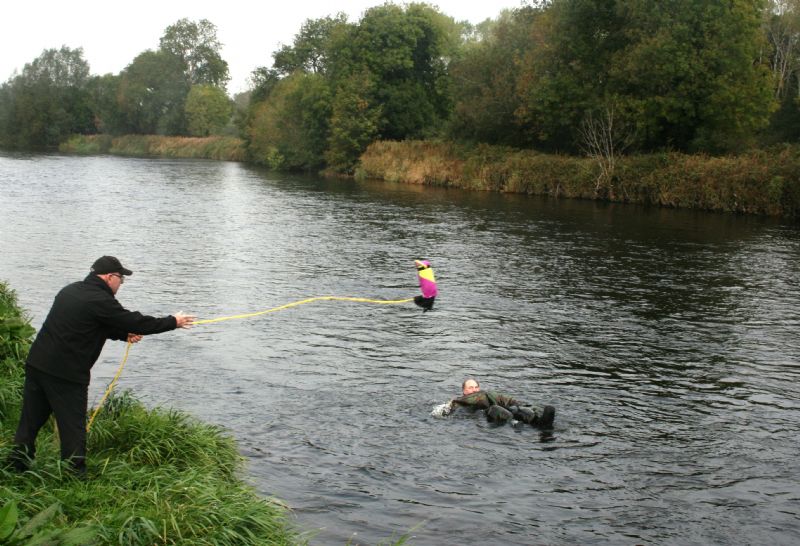
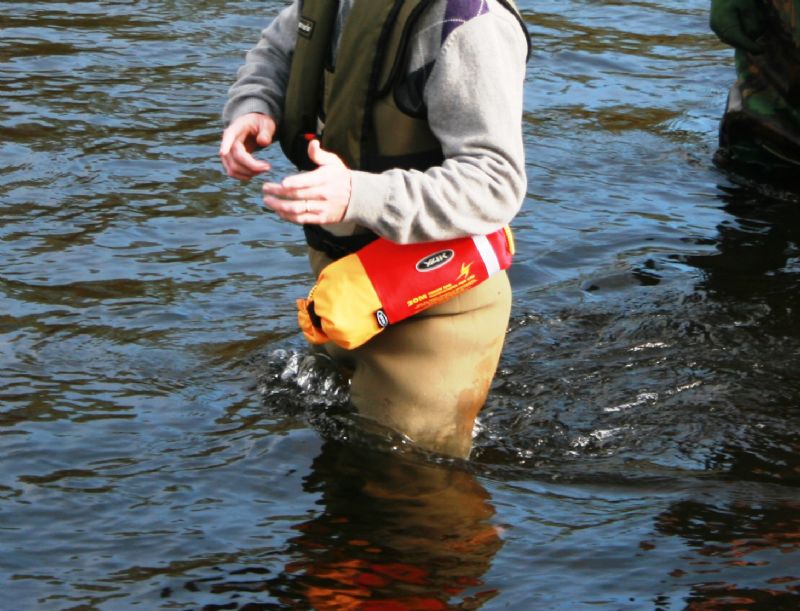
Throw ropes are simply a length of rope (floating line is best) carried in a bag (picture 3) that can be paid out when the bag is thrown to a swimmer. They come in a variety of lengths; the 15m is usually the most practical length to carry.
The basic lifesaving rules are ‘reach, throw, and tow.’ However with moving water your best bet is to throw.
The first rule is to carry your throw rope with you (it is of no use in the car or a fishing bag). Many paddlers now favour a waist mount system (see below); to make sure their throw-bag is always on their person.
It is also important to ensure that you (as a rescuer) are in a safe stable position. Even better if you have features to brace against, otherwise you can end up being pulled in too. Working with an angling group on moving water, a rescuer should always be placed downstream of the group.
Ensure when you throw the line to the ‘swimmer’ they will pendulum into the bank. You need safe space for the swimmer to swing in to. A nice big eddy downstream can be ideal, however not so good if a strainer or undercut lies in wait!
Once in position to throw a line one needs to attract the attention of the swimmer. This is best done by shouting there name or shouting, ‘rope!’ Once you’ve got their attention, hold the line and bag high above your head to show the swimmer that you are about to throw the line. When you’ve made eye contact throw the line. The easiest way to throw the rope is with an underarm throw. The bag is swung back and forth releasing it as your hand reaches a point in line with the swimmer. The bag should be aimed beyond the person so that the line falls across them and they can easily grab the line.
On moving water one should practice so to always hit your target, a second throw will never be as effective and you may not get that second throw. If being washed downstream, you’ll have to take a series of coils and throw them. There won’t be time to repack. It is important the swimmer gets into the right position once on the line and the rescuer may have to instruct them. As soon as they catch the line, the swimmer should bring it over their shoulder and down onto their chest (no wrapping around the hand!). Then roll onto their back so taking the load across the shoulders. The force of the water should pendulum them into the bank. This position keeps their head and face clear of the water.As the swimmer takes hold a load will come onto the rope. It’s important that the belayer takes a dynamic stance to accept that load and allow the swimmer to swing into the bank. One can almost play them ‘like a fish’ to get them into the right eddy.The rescue is not finished until the casualty is safely away from the water.
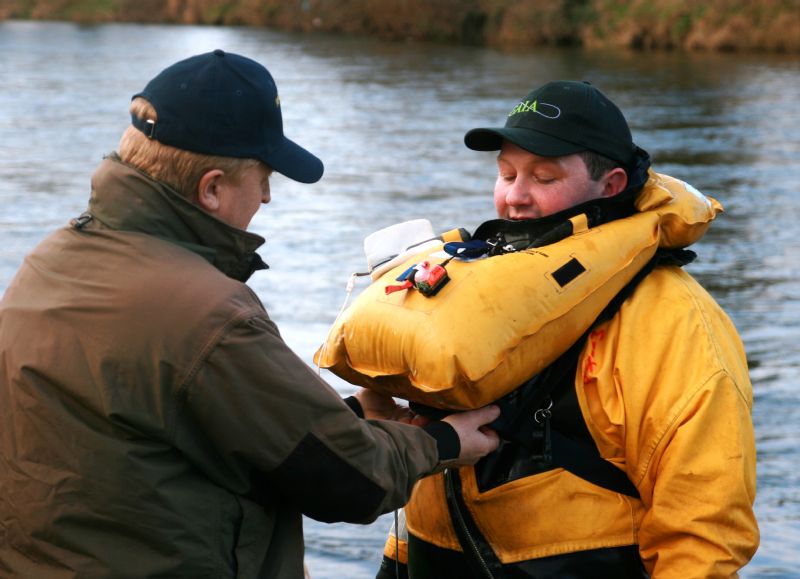
After use, to repack the bag one simply has to put the line over your shoulder, holding the bag in front of you. Then feed the line into the bag a little at a time. Do not take coils of rope and shove them into the bag as the next time you throw the bag, the coils will land in a heap in front of you.
After use, ropes need drying. Also the rope can be a hazard itself. So the rule is, if carrying a rope one should also carry a knife.
The training from AFYD was something of a revelation. The ACI took it on board and on the 19th of February a group of ACI coaches underwent the new ’Safe wading and river rescue’ continuous professional development course.
For anyone working with groups next to moving water I would recommend this course. Details of these courses can be found on the ACI web site or by contacting Bob Seward. Throw bags can be bought from any Outdoor Pursuit shop or by carrying out an internet search.


